We had a mystery Quilt project (see pictures, steps, etc that Kim has posted earlier) in 2009 and it was such a hit we decided to have another one in 2010.
I just finished making the top from Christine Hampton's direction for the 2010 Mystery Quilt. It is easy, fun and completely diffierent than 2009. No, I can't show you a picture and neither will Christine! (One hint: There are NO triangles that needed to be squared up) This is a brand new pattern designed especially for our retreat. Thanks, Christine.
Showing posts with label Judy Hopkins Mystery Quilt. Show all posts
Showing posts with label Judy Hopkins Mystery Quilt. Show all posts
Thursday, January 7, 2010


Monday, December 28, 2009
Mystery Monday - The Final Step in A Judy Hopkins Mystery
I hope everyone had a fabulous and safe holiday! I’m sure you’ve all been anxiously awaiting the final step to this fun mystery.
Join the rows to make a BUCKEYE BEAUTY quilt, turning every other row upside-down to form the pattern.
I have included pictures of the mystery quilts that were finished at the 2009 Quilts By Barb Quilt Retreat. I have yet to finish mine (the one that I’ve been showing in the other instructions) but no worries – I’ll be sure to blog about it when I do! I also do not know who’s quilt is who’s so if you would like credit please just leave a comment with your name and the corresponding letter that goes with your quilt top!
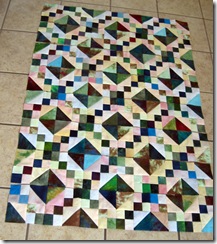
(A)

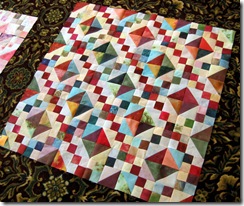

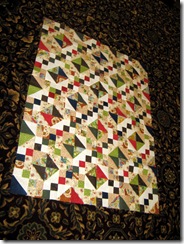
(E)
Add 6” borders in your choice of fabric. 1-1/3 yards of fabric will yield 7 selvage-to-selvage strips, 6-1/2” wide, for seamed borders. For borders cut from the lengthwise grain, you would need 1-1/2 yards of fabric.
TO ADD BORDERS: Seam the strips as necessary to make strips long enough to border the quilt; press seams open.
Measure the length of the quilt at the center, from raw edge to raw edge. Cut two border strips to that measurement and join them to the sides of the quilt with a 1/4” seam, matching the ends and centers and easing the edges to fit. Then measure the width of the quilt at the center, including the border pieces that you just added. Cut two border strips to the measurement and join them to the top and bottom of the quilt, matching ends and centers and easing as necessary.

This is the quilt that Diane finished as a sample for the Mystery Quilt. She decided to to her borders in a way that she deemed fit for the quilt. That’s the beauty about borders…you can do whatever you want! To see more pictures just click HERE!
If you’ve missed the earlier steps it’s easy to catch up! Just click on the links below:Judy Hopkin's’ Mystery Quilt Singles patterns for individual quilters are available through Feathered Star Productions at www.MarshaMcCloskey.com
***If you participated in the 2009 Quilt Retreat or just decided to follow along with the mystery on this blog please send me your completed quilt pictures! I would LOVE to see them! Just email me at: lapaceksorchard@gmail.com and I will post them to this blog!***
Subscribe to:
Posts (Atom)